- Supplies: Arduino, LED, switch, jumper wire, breadboard
- 준비물: 아두이노, LED, 스위치, 전선
 |
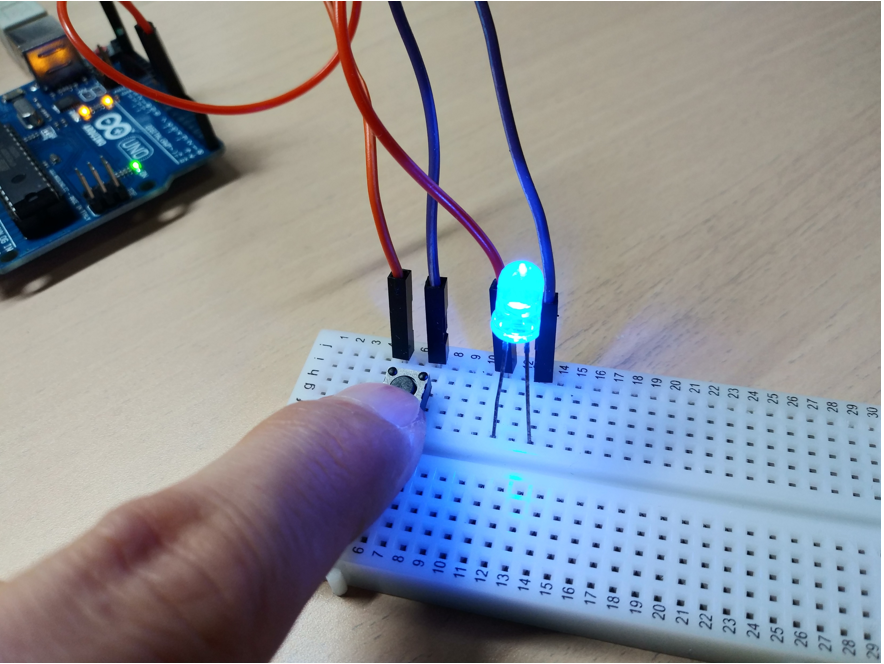
| Connected configuration (연결 상태) |
 |
| Turn off (LED 끄기) |
 |
| Turn on (LED 켜기) |
// LED pin #
int LED_pin = 3;

// Switch pin#
int switch_pin = 5;

void setup() {
  // put your setup code here, to run once:
  pinMode(LED_pin, OUTPUT);
  pinMode(switch_pin, INPUT_PULLUP);

}
void loop() {
  // put your main code here, to run repeatedly:

    if(digitalRead(switch_pin) == LOW){
        digitalWrite(LED_pin, HIGH);
    }else{
      digitalWrite(LED_pin, LOW);
    }

}
Properties of Pins Configured as INPUT_PULLUP
There are 20K pullup resistors built into the Atmega chip that can be accessed from software.
These built-in pullup resistors are accessed by setting the pinMode() as INPUT_PULLUP.
This effectively inverts the behavior of the INPUT mode, where HIGH means the sensor is off,
and LOW means the sensor is on.
Atmega 칩에는 소프트웨어 상에서 접근할수 있는 20K 풀업 저항이 내장되어있다.
이 저항은 pinMode ()를 INPUT_PULLUP으로 설정하여 접근할 수 있다.
이는 입력 모드의 동작을 효과적으로 전환시키는데, HIGH는 센서가 꺼져 있음을 의미하고,
LOW는 센서가 켜져 있음을 의미한다.
(Ref. https://www.arduino.cc/en/Tutorial/DigitalPins)

No comments:
Post a Comment